How to track time for yourself
So you track time for the company you work for that demands that you to do so – that is understandable. But why would you volunteer to track your time for yourself when you are not being asked about it? To name a few reasons:
- You time is valuable. See for yourself how much of it is spent on each tasks and increase your productivity on spending time on what is important
- Review your own screenshots to recall what you’ve been doing
- Even if you didn’t add a note of what you were doing, App & URL tracking will show you exactly what programs were running and what websites you’ve been to
- And if you did a good job – why not share it with your clients ?
- Unless you share – only you will see the result and you can do it completely free on the Free plan
Lets see how you can do it
If you have an account already – skip to Step 3 (Basically just select “Tracking for myself” in the list of companies)
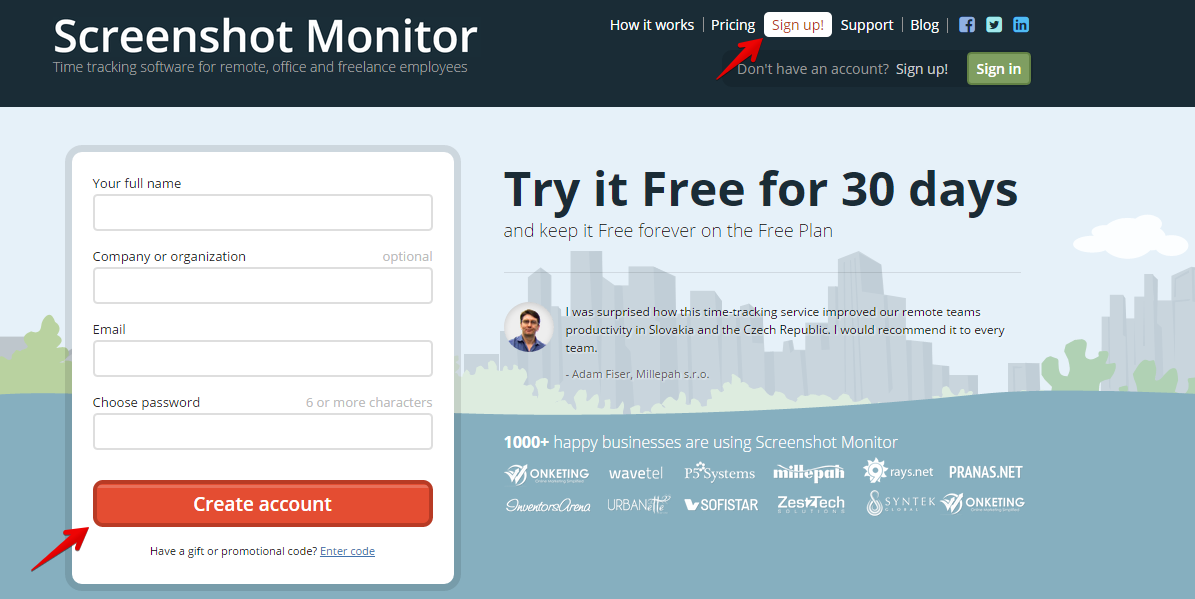
Step 1: Register in Screenshot Monitor
First visit Screenshotmonitor.com and sign-up for an account if you don’t have one yet
After signing up to SSM, sign-in to your newly created account. The welcome screen comes with two primary tasks.
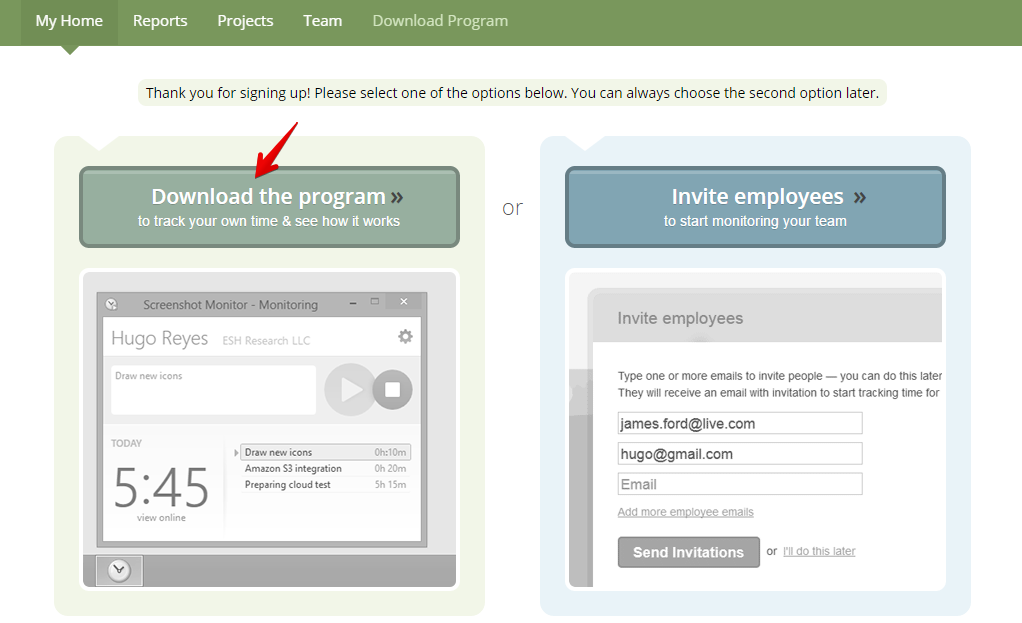
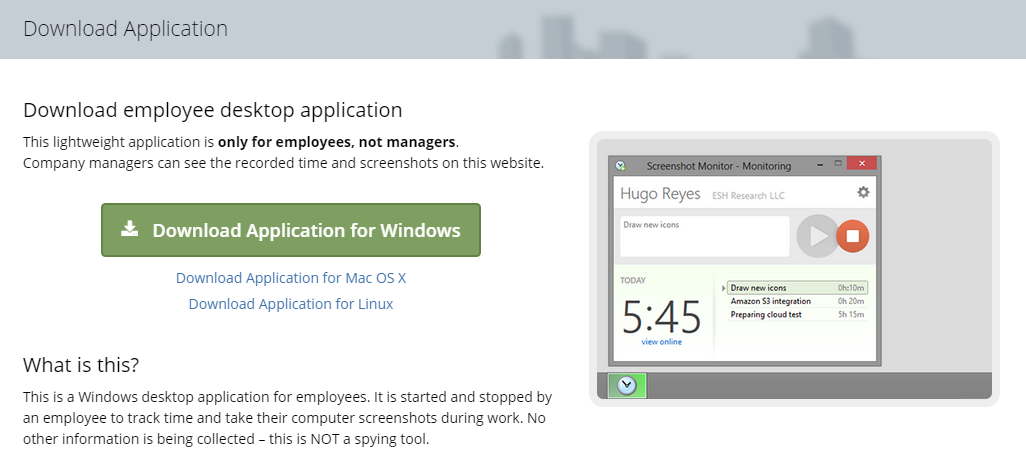
You need to download the Screenshot Monitor desktop app in order to track your time with images. For self-tracking purposes, you should download the Screenshot Monitor app right away.
Step 2: Track Time with the SSM App
After downloading the app, install it on your computer.
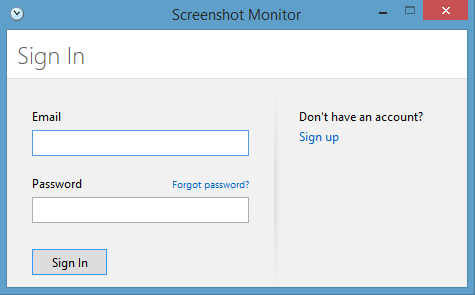
Open it and sign-in.
After signing in to SSM for the first time, the app will look like the above screenshot. Clicking on the green button would start tracking your time with screenshots (by default). There is a ‘Stop’ button as well.
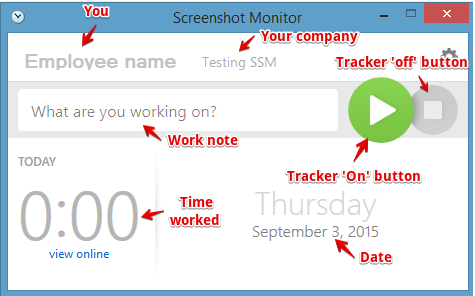
Here I’ve marked them all for you.
Step 3: In Screenshot Monitor app switch to “Tracking for myself”
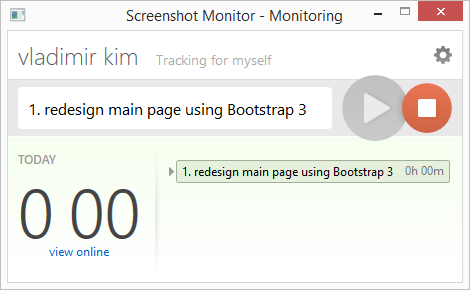
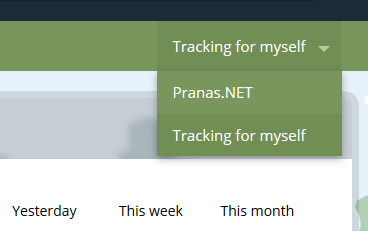
In the desktop app select what company you track your time for. There will be as many companies as you work for (companies that have invited you to their teams) and “Tracking for myself” option – select that.
Go back to screenshotmonitor.com to see the screenshots that were taken. Just make sure that you’ve selected “Tracking for myself” in the top-right menu on the website as well.
Step 4: Viewing and Sharing Reports
Once you become active with Screenshot Monitor app, you will see a list of your employees on the SSM homepage. Since you are tracking yourself, so in this specific case, the user’s specified name will be shown in the employee field.
Clicking on an employee name will open the timeline created with work logs.
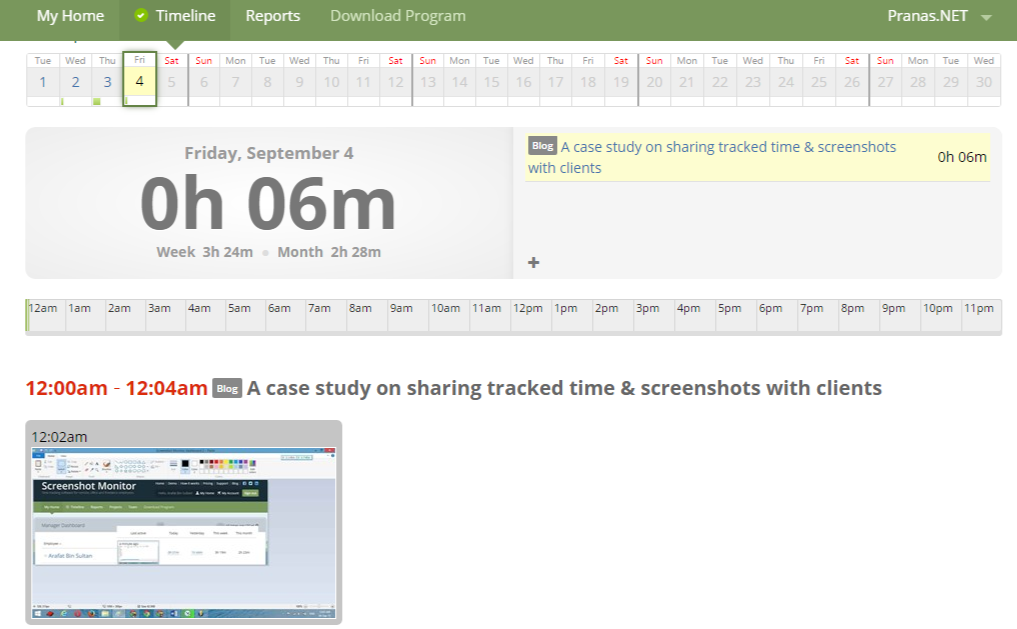
It shows detailed time logs along with screenshots captured by the SSM app. You can also add offline times manually on this screen.
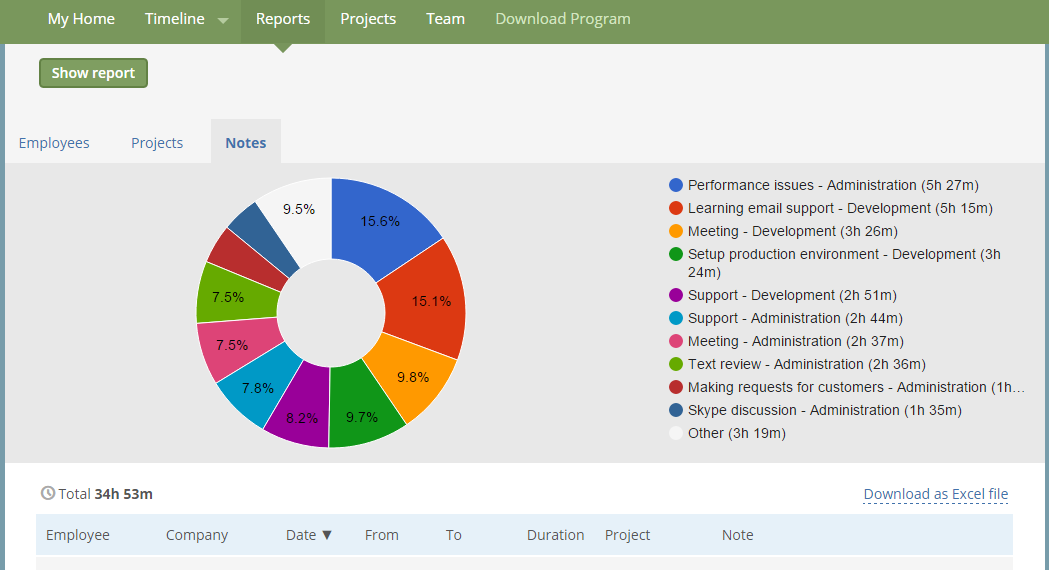
After the Timeline tab, you will get another tab called Reports. Here you will find the total log of your activities tracked by the SSM app. The Reports section looks like this.
You can share a report using the “Share this report” option.
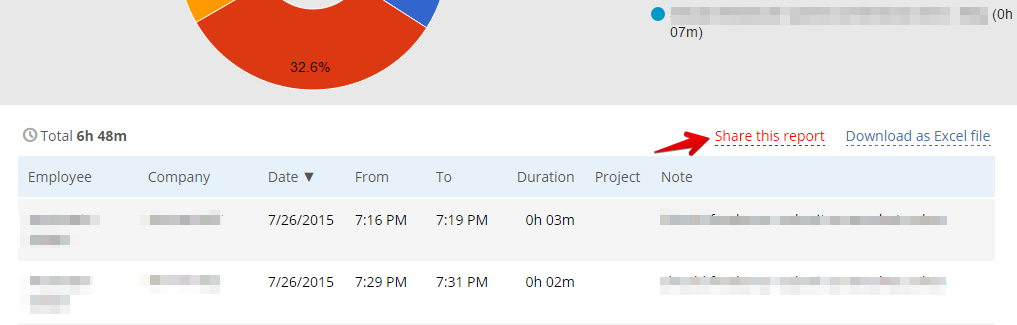
Click “Share this report”. It will bring the sharing page.
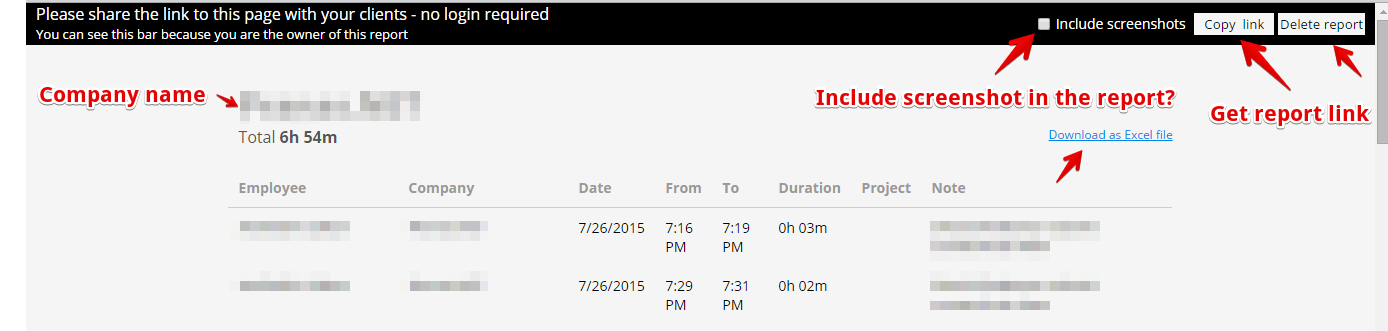
You can share the report with or without screenshots. If you don’t select the screenshot sharing option, the shared report will include only time log and notes.
Copy the link from there and share it with your client. There is an option to delete a shared report as well. If you delete a shared report, it will be unavailable via the shared link. But the work log will remain intact in your user account with SSM.
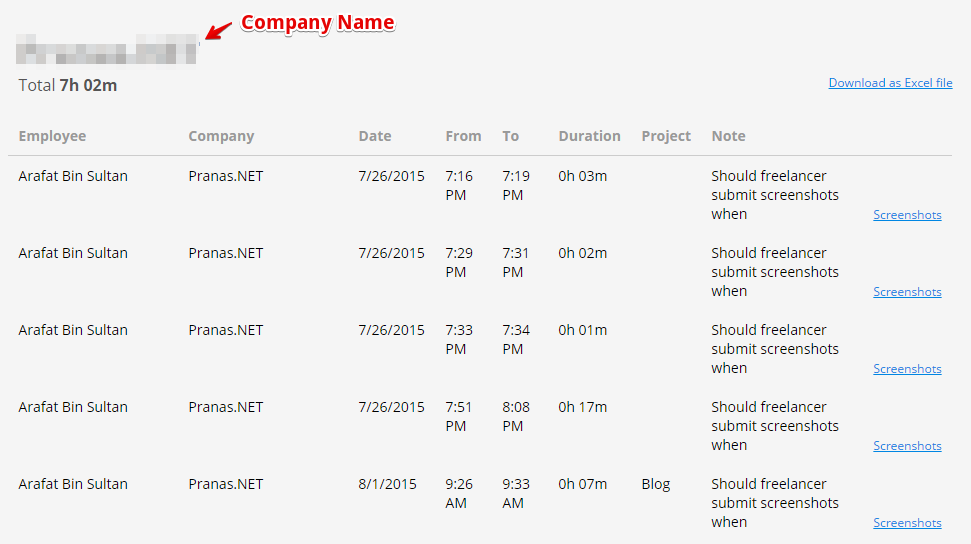
The above image shows a shared report. Your clients don’t need any login to view a shared report – just a unique URL. And yes, Screenshot Monitor reports are available to download as (spreadsheet) Excel files.